How to Clean and Condition a Vintage Leather Jacket
The right way to care for old leather without cracking the hide or stripping the patina that took decades to build.
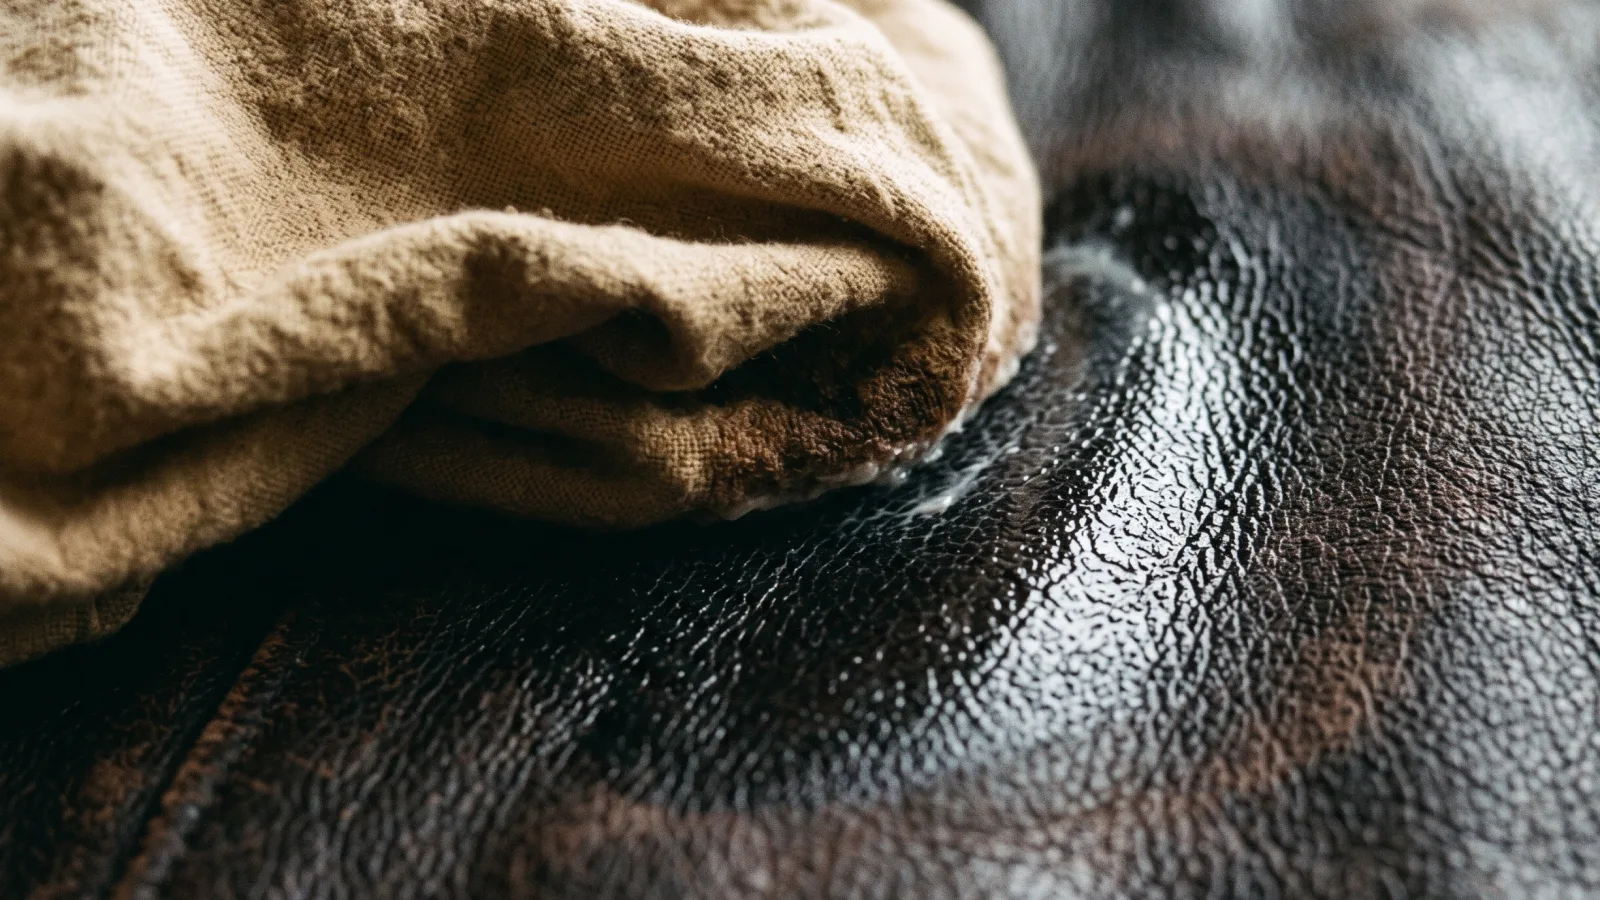
First: don't clean it like new leather
The instinct with a decades-old jacket is to scrub off the grime and restore it to "like new." Resist it. The patina — the darkening, the creasing, the slight unevenness in tone — is what makes vintage leather look right, and it's not coming back once stripped. The goal is maintenance, not restoration.
Cleaning: less is more
- Dust and surface dirt. A soft, dry microfiber cloth handles most day-to-day grime. Wipe with the grain, not against it.
- Deeper grime. Use a leather-specific cleaner (not saddle soap, which is too harsh for finished garment leather) applied to a cloth, not directly to the jacket. Test on an inside seam or the inside of a cuff first — old leather can react unpredictably.
- Never use household cleaners. No dish soap, no baby wipes, no all-purpose sprays. These strip the natural oils and finish that keep leather flexible.
- Let it air dry away from heat. Never use a hairdryer or place a damp jacket near a radiator or heating vent — direct heat is the fastest way to crack leather.
Conditioning: the part people skip and shouldn't
Leather dries out over time regardless of how carefully it's stored, and dry leather is what cracks. Conditioning every 6-12 months (more often if you wear the jacket heavily) keeps the hide flexible.
- Choose a conditioner matched to the hide. Heavier conditioners suit thicker horsehide and steerhide; lighter, non-greasy formulas suit lambskin, which can look oversaturated and dark if over-conditioned.
- Apply sparingly. A small amount worked in with a soft cloth in circular motions goes further than people expect. Over-conditioning can darken leather permanently and attract more dust.
- Condition the whole jacket, not just visible wear spots. Areas that look fine can still be drying out from the inside.
- Wait 24 hours and buff. Let the conditioner fully absorb, then buff with a clean dry cloth to remove any residue and bring back the natural sheen.
A neutral, pH-balanced leather conditioner without added dyes or heavy silicones is the safest default for vintage pieces where you don't want to alter the existing color.
See current options →Storage that doesn't undo the work
- Use a wide, padded hanger — wire hangers create pressure points that crease and eventually crack the shoulders.
- Avoid plastic garment bags for long-term storage. Leather needs to breathe; trapped moisture in plastic encourages mold. Use a breathable cotton garment bag instead.
- Keep it away from direct sunlight and heat sources — both fade color and dry out the hide over time, even in storage.
- Stuff the sleeves loosely with acid-free tissue if storing for an extended period, to help the jacket hold its shape.
What to do about existing damage
Small scuffs and light scratches on leather often blend in on their own as the surrounding leather ages, especially on aniline or semi-aniline finishes. Deeper cracks, torn seams, or significant color loss are worth taking to a leather-specific repair specialist rather than attempting a home fix — a botched DIY repair on a genuinely valuable vintage piece is far more costly than the specialist's fee.